这是最快的安装方式。它会检测你的操作系统,在需要时安装 Node,安装 OpenClaw,并启动新手引导。
macOS / Linux / WSL2
curl -fsSL https://openclaw.ai/install.sh | bash如果你希望安装时不运行新手引导:
curl -fsSL https://openclaw.ai/install.sh | bash -s -- --no-onboardnano ~/.openclaw/openclaw.json
在 gateway 节点下找到或添加 controlUi 配置:
{
"gateway": {
"port": 18789,
"bind": "lan",
"controlUi": {
"allowedOrigins": [
"http://localhost:18789",
"http://127.0.0.1:18789",
"http://你的局域网IP:18789",
"https://你的域名:18789"
]
}
}
}关键点:
"bind": "lan" 必须设置,否则服务不会监听局域网接口
填入的地址必须与浏览器访问栏中的地址完全一致(包括 http/https 协议、端口号)
如果你通过 局域网 IP 访问(如 http://192.168.x.x),现代浏览器会要求启用 HTTPS 才能正常工作,快速生成自签名证书
# 创建证书目录
mkdir -p ~/.openclaw/certs

# 生成证书(替换 CN 为你的 IP)
openssl req -x509 -newkey rsa:4096 \
  -keyout ~/.openclaw/certs/key.pem \
  -out ~/.openclaw/certs/cert.pem \
  -days 365 -nodes \
-subj "/CN=你的服务器IP"{
"gateway": {
"tls": {
"enabled": true,
"certFile": "/home/lukey/.openclaw/certs/cert.pem",
"keyFile": "/home/lukey/.openclaw/certs/key.pem"
}
}
}配置完成后:
重启 Gateway:openclaw gateway restart
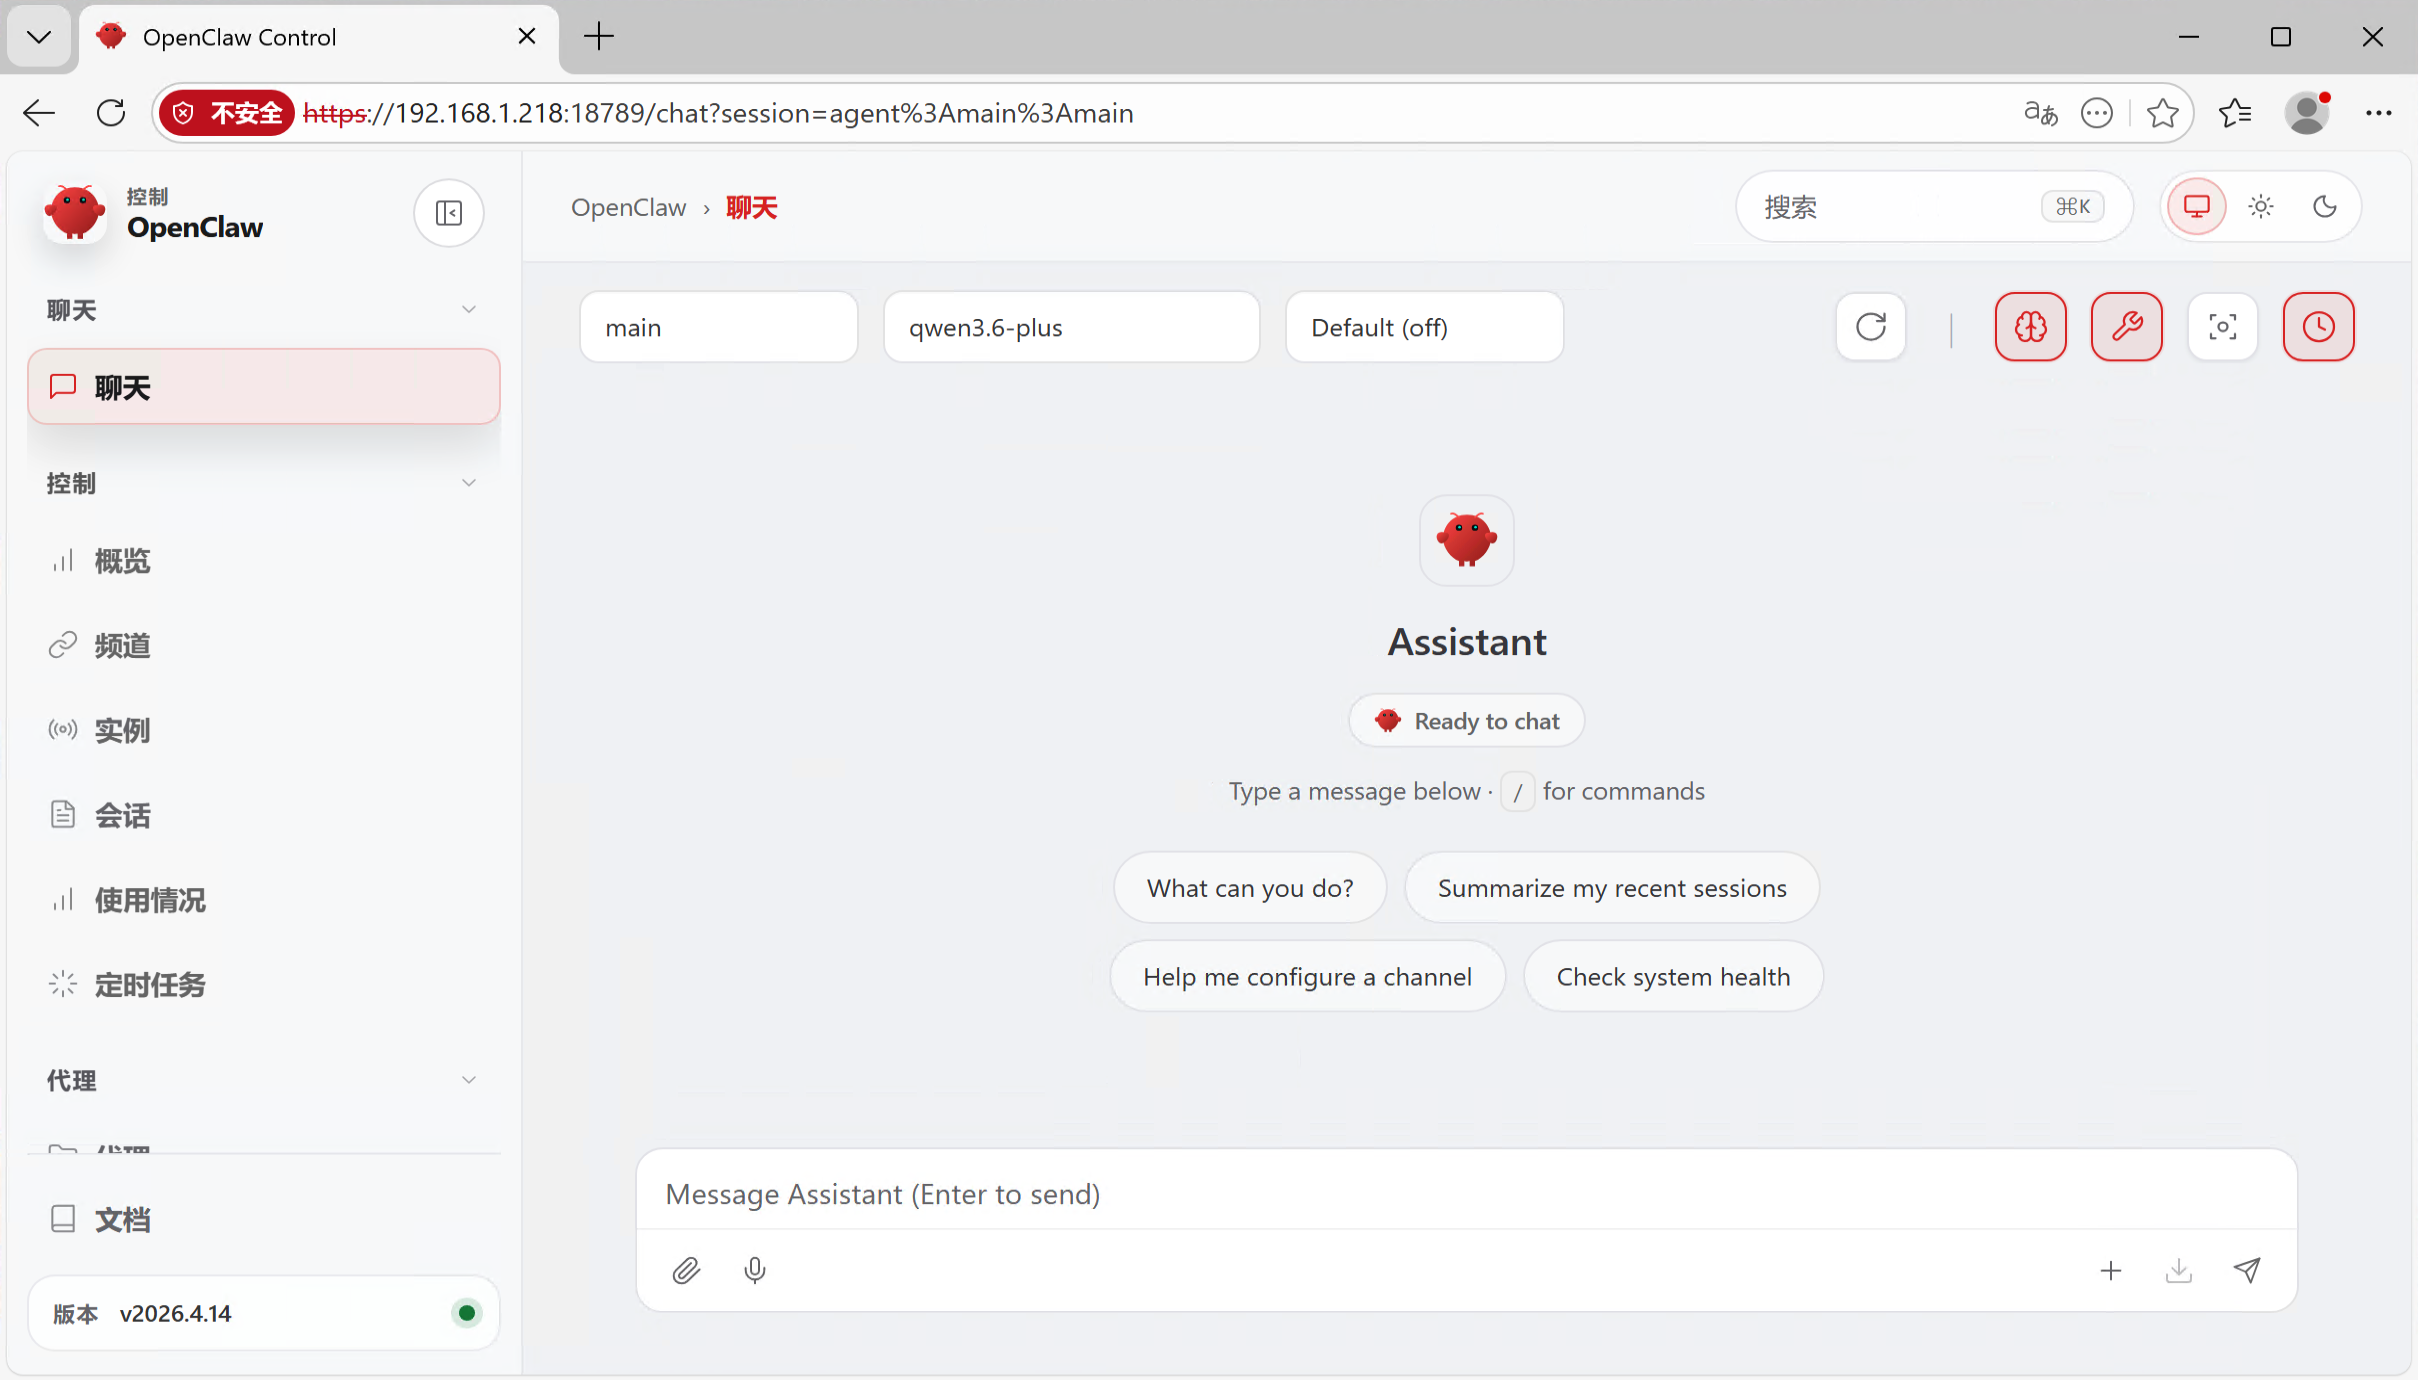
访问地址变为 https://你的IP:18789
浏览器提示不安全时,点击"高级" → "继续访问"
完整配置示例
{
  "gateway": {
    "port": 18789,
    "bind": "lan",
    "tls": {
      "enabled": true,
      "certFile": "/home/lukey/.openclaw/certs/cert.pem",
      "keyFile": "/home/lukey/.openclaw/certs/key.pem"
    },
    "controlUi": {
      "allowedOrigins": [
        "http://localhost:18789",
        "http://127.0.0.1:18789",
        "https://你的服务器IP:18789"
      ]
    },
    "auth": {
      "mode": "token",
      "token": "你的token"
    }
  }
}